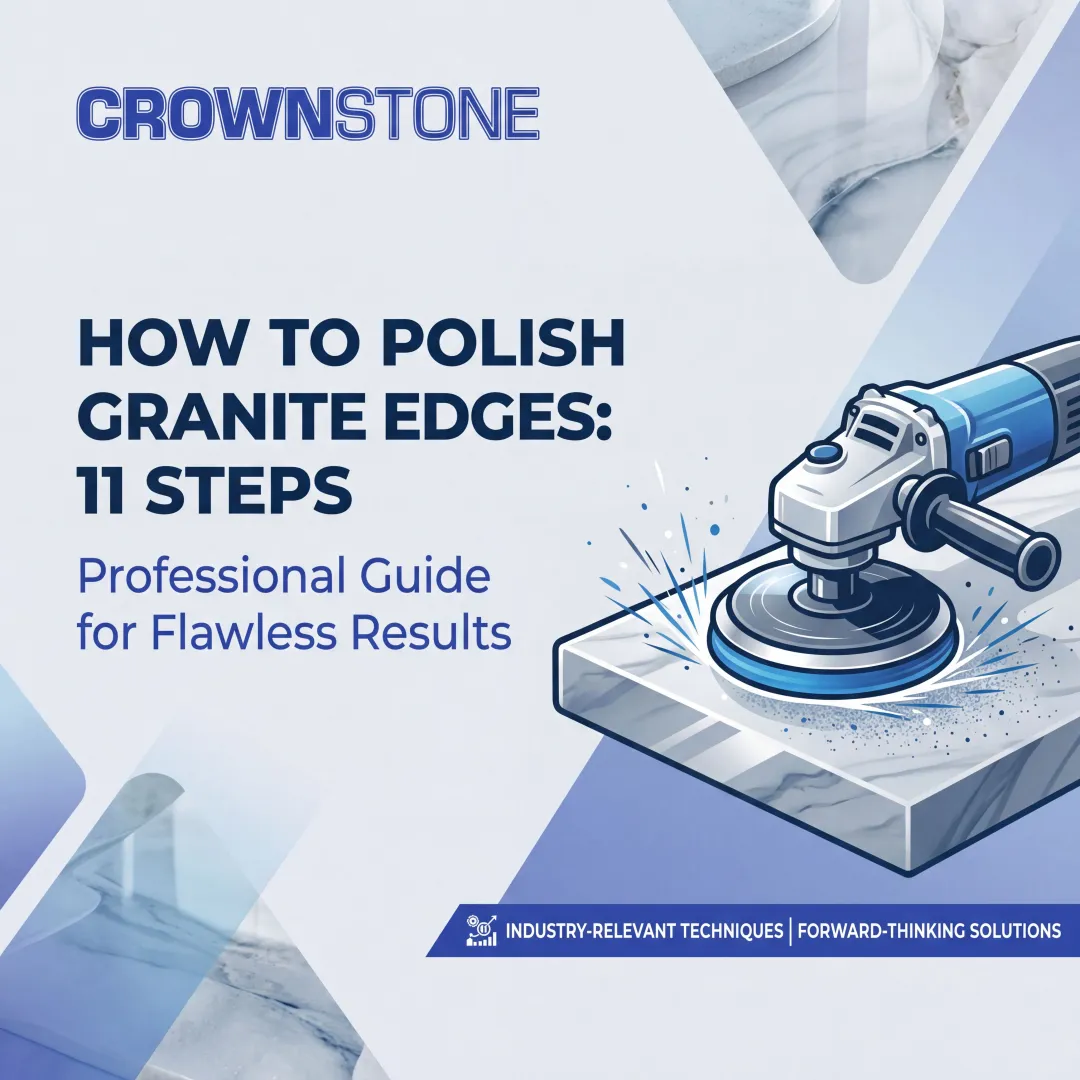
Introduction
Quartz edge polishing is the process of transforming a raw, machine-cut edge into a smooth, professional finish through progressive abrasion and buffing. For stone fabrication professionals—quartz fabricators, shop technicians, and installers—edge quality directly impacts client satisfaction and project profitability. A poorly finished edge is both a safety liability and one of the first things clients notice during a final walkthrough.
This guide covers the tools you need, the step-by-step finishing process, and the factors that separate clean results from costly rework.
Engineered quartz behaves differently from natural stone—especially its sensitivity to heat and resin content. Knowing those differences upfront will help you avoid the mistakes that damage slabs and slow down your shop.
TL;DR
- Never skip grit stages (50–3000): each step removes scratches left by the previous pad
- Required tools: variable-speed angle grinder, white resin-bonded diamond pads, rigid backer, HEPA dust extractor, and water supply
- Lower RPMs and increase water flow as grits get finer — resin burn is a real risk on white and dark quartz
- Cleaner bridge saw cuts mean less coarse grinding; precision upstream saves hours at the polisher
- OSHA requires HEPA-filtered extraction and NIOSH respirators to control respirable crystalline silica
What Is Quartz Edge Polishing?
Quartz edge polishing transforms a machine-cut quartz edge into a smooth, finished surface by removing saw marks and irregularities through progressive abrasion. The goal is to achieve a consistent sheen that matches the factory-polished top surface of the slab, creating a seamless appearance that meets client quality expectations.
What Makes Quartz Polishing Distinct
Engineered quartz behaves differently from natural stone. While granite and marble are purely mineral compositions, engineered quartz contains 85–95% crushed quartz aggregate bonded with 5–15% polymer resins — and those resins are thermoplastic.
That matters in practice. Resins soften or burn when exposed to excessive friction heat, which means this composition demands specific tooling, controlled RPMs, and adequate water cooling — adjustments granite fabricators can't simply carry over from natural stone work.
Shop vs. On-Site Polishing
Those material requirements play out differently depending on where you're working. Shop-based polishing uses dedicated machinery like automated edge polishers before installation, delivering the highest throughput and consistency. On-site polishing relies on handheld angle grinders for touch-ups, seam work, and trim cuts made after installation.
This guide covers the manual technique applicable to both environments, emphasizing the fundamentals that apply whether you're finishing edges at the shop or correcting field cuts.
Essential Tools for Quartz Edge Polishing
Variable-Speed Angle Grinder or Polisher (4"–5")
Speed control is the most critical feature for quartz edge polishing. The polymer resin in engineered stone will burn, discolor, or smear if tooling generates excessive friction heat. A variable-speed grinder allows you to match RPM to grit stage:
- Coarse pads (50–400 grit): Higher RPMs (approximately ¾ throttle) for aggressive stock removal
- Fine pads (800–3000 grit): Lower RPMs (½ throttle maximum) to prevent heat buildup and resin damage
Fixed-speed grinders running at 10,000+ RPM are unsuitable for quartz finishing work—the risk of resin burn is too high, particularly during final polishing stages.
Diamond Polishing Pads (Full Grit Sequence: 50–3000)
A complete grit sequence is essential for professional results. Each grit stage removes the scratch pattern created by the previous stage:
- Coarse grits (50–200): Remove saw marks, reshape damaged edges, and level uneven surfaces
- Medium grits (400–800): Refine scratch patterns and develop initial smoothness
- Fine grits (1500–3000): Build gloss and prepare the surface for final buffing
Critical specification: Use white resin-bonded pads for quartz work. Colored resin pads designed for granite can transfer pigment onto light-colored quartz surfaces, creating stains that are difficult or impossible to remove. Manufacturers like Weha and Diamax specifically formulate white resin pads to prevent pigment bleeding on engineered stone.
Rigid vs. Flexible Backing Pads
Backer pad selection directly affects pad-to-surface contact and polish uniformity:
- Rigid backers: Preferred for straight, eased, and bullnose profiles because they maintain full, even surface contact and replicate the performance of automated line polishing machines
- Flexible backers: Reserved for concave profiles such as ogee edges where the pad must conform to curves
Get this wrong and the consequences show up fast: a flexible backer on a flat profile causes the pad to cup, so only its edges contact the stone. That leaves a persistent hazy center spot that no additional passes will fix.
Dust Extraction System (Shroud + HEPA Vacuum)
Dust extraction is not optional—it is a regulatory and health requirement. Engineered quartz contains up to 90% crystalline silica, and dry grinding generates respirable silica dust that causes silicosis, an incurable and potentially fatal lung disease. OSHA mandates that respirable crystalline silica exposure not exceed 50 µg/m³ as an 8-hour time-weighted average.
A vacuum shroud attaches to your angle grinder and captures dust at the point of generation. Standard shop vacuums are not enough—OSHA requires HEPA-filtered vacuums that are at least 99.97% efficient at capturing 0.3-micrometer particles. The silicosis crisis among stone fabrication workers—including 52 diagnosed cases and 10 deaths in California alone—makes this a non-negotiable investment.
Supporting Tools
- Spray bottle with water: Provides lubrication and cooling throughout the grit sequence
- Felt buffing block or soft polishing pad: For final compound application and mirror polish development
- Painter's tape and plastic sheeting: Protects surrounding surfaces from water and slurry
- Safety PPE: NIOSH-rated respirator, safety glasses or face shield, hearing protection
The quality of your initial bridge saw cut determines how much time you'll spend on coarse pads. A clean, precise cut from a well-maintained saw minimizes saw marks, letting you skip or shorten the 50–200 grit stages entirely. That's where machine accuracy pays off in actual shop time—bridge saws built to tight tolerances, like those Crown Stone USA manufactures for commercial fabrication shops, reduce the manual polishing work that comes after every cut.

Common Quartz Edge Profiles and What They Demand
Profile Types and Polishing Considerations
Different edge profiles require specific technique adjustments:
Eased Edge
The most common profile — a slightly softened 90° corner. Eased edges are straightforward to polish because they're essentially flat with minimal curvature. Position the grinder so the pad's outer edge makes contact, using alternating top-half and bottom-half sweeping motions to maintain uniformity.
Bullnose Edge
A fully rounded top and bottom edge. The pad's center contacts the stone naturally, but consistent motion is critical to avoid flat spots. This profile stays popular in family-friendly kitchens since there are no sharp corners to worry about.
Ogee, Dupont, and Complex Profiles
Decorative edges with concave curves require flexible backers or are typically shaped in-shop using CNC machinery. These profiles demand more time and skill — the pad must conform to the profile's geometry without flattening curves or creating uneven sections.
How Profile Affects Technique
Each profile type above feeds directly into three variables that determine your approach on the machine:
- Flat profiles use the pad's outer edge; rounded profiles use the center contact area
- Concave curves require flexible backers; straight edges need rigid ones
- Side-to-side sweeps work for eased edges, while bullnose profiles call for circular or figure-eight motions

Step-by-Step Quartz Edge Polishing Process
Consistent execution of the full grit sequence is what separates a professional finish from a failed one. The most common mistake is skipping stages — or rushing through them.
Step 1: Surface Preparation and Edge Assessment
Mask surrounding surfaces with painter's tape and plastic sheeting to protect cabinets, walls, and the countertop face. Connect your dust shroud to the HEPA vacuum and verify suction before beginning.
Inspect the raw edge carefully:
- Identify chips, deep saw marks, or uneven sections
- Note areas requiring extra attention with coarse pads
- Confirm the edge profile matches the specification
Step 2: Coarse Grinding and Edge Shaping (Grit 50–200)
Mount a 50 or 100-grit diamond pad on your rigid backer. Begin with steady, side-to-side passes across the full height of the edge. Apply light water mist—low-grit pads work best with minimal water because excess water causes the pad to hydroplane and lose cutting efficiency.
Goal: Remove all saw marks and create a uniform scratch pattern across the entire edge. Do not advance to the next grit until the edge shows consistent, even scratches with no visible saw marks remaining.
Step 3: Progressive Refinement (Grit 200–800)
Move through 200, 400, and 800-grit pads sequentially. Between each grit change, wipe the edge clean with a damp cloth to remove residue from the previous pad. Leftover grit particles will contaminate the finer pad and create deep scratches.
RPM guidance:
- 200–400 grit: Maintain approximately ¾ throttle
- 800 grit: Reduce to ½ throttle maximum
As grit increases, reduce pressure—let the diamond particles do the work. Forcing pressure generates excess heat without improving cutting efficiency.
Step 4: Fine Polishing to Gloss (Grit 1500–3000)
Once you reach 1500 grit, switch to plenty of water. Higher grit pads generate more heat, and this is the stage where resin burn most commonly occurs when water flow is insufficient. Continue reducing RPM with each grit advance.
Critical for high-resin materials: Very white or very dark quartz colors often contain finer quartz aggregates and higher resin concentrations at the surface, drastically reducing the margin for error. These compositions demand extra caution with RPM and water flow.
By the end of the 3000-grit stage, the edge should display a clear, satin sheen with no visible scratches.
Step 5: Final Buffing and Mirror Polish
Attach a felt block or soft buffing pad to your grinder. Apply a quartz-specific polishing compound or fine polishing paste. Run the polisher at low RPM—typically the lowest setting on your variable-speed grinder.
Work the compound across the entire edge using overlapping passes. The friction re-flows the microscopic resin layer, producing a sharp, high-gloss surface. Wipe clean with a dry, lint-free cloth.
Inspect the edge under good lighting from multiple angles to confirm even sheen with no residual haze, swirl marks, or scratches.

Key Factors That Affect Quartz Edge Polish Quality
Material Composition and Color
Engineered quartz slabs vary in resin-to-mineral ratio depending on brand, color, and manufacturer. High-resin compositions common in pure white and very dark colors are more prone to burning and smearing if RPM and water are not carefully managed.
Color is a reliable proxy for resin content. Pure white slabs like "Absolute White" and solid black designs have extremely fine quartz aggregate at the surface — the polishing pad contacts more resin than mineral, raising burn risk. Speckled or heavily veined designs, where larger quartz particles dominate, are more forgiving.
That material sensitivity makes tool condition the next critical variable to control.
Tool Condition and Pad Quality
Worn pads create uneven scratch patterns that are impossible to polish out without returning to a coarser grit. Inspect pads regularly for:
- Glazing (smooth, shiny surface indicating worn diamonds)
- Uneven wear patterns
- Loss of rigidity in the resin bond
Use pads specifically formulated for quartz—not granite pads, which may have different bond hardness and diamond concentration. Match pad type to application: white resin pads for quartz to avoid pigment staining.
Water Management and RPM Discipline
These two variables are the most controllable factors on any job and the most commonly mismanaged. Low grit = less water + higher RPMHigh grit = more water + lower RPM
Keep your grinder moving constantly. Holding the tool in one spot creates hot spots that burn the resin and cause uneven surface contact, forcing you to step back through earlier grits to recover the surface.
Common Mistakes and Misconceptions in Quartz Edge Polishing
Skipping Grit Stages
Jumping from coarse to fine grit (e.g., 200 to 1500) leaves deeply embedded scratches that the finer pad cannot remove. The fabricator then has to go backward in the sequence, costing more time than sequential progression would have required. This is the single most common mistake in quartz edge polishing.
Each grit stage has a specific purpose: it removes the scratch pattern from the previous stage while creating its own finer pattern. Skipping stages means finer pads are attempting to remove scratches far too deep for their diamond size, resulting in incomplete scratch removal and visible haze.
Using Flexible Backers for Flat Profiles
Many fabricators default to flexible backers for all polishing work. On flat or eased profiles, this causes the pad to cup under pressure, resulting in only the pad's outer edges contacting the stone. The center remains untouched, leaving a persistent hazy spot that no amount of additional pressure or passes will eliminate.
A rigid backer maintains full, even contact across the entire pad surface, replicating the performance of automated line polishing equipment.
Assuming Quartz Polishes Like Granite
The polymer resin in quartz fundamentally changes how the material responds to abrasion and heat. Using granite-specific pads, excessive RPMs, or inappropriate compounds can burn the surface or leave resin smearing that requires acetone to remove.
The thermal sensitivity of the polymer binder means heat management is a constant concern — something natural stone fabrication rarely demands. Use quartz-specific tooling, keep RPMs in range, and apply water cooling consistently throughout the process.

Conclusion
Quartz edge polishing is a disciplined, sequential process where every stage affects the final outcome. Tools matter — a variable-speed grinder, white resin-bonded diamond pads, and HEPA dust extraction form the foundation. Technique matters just as much: complete grit progression, controlled RPMs, proper water flow, and profile-specific motion are what actually produce a factory-match finish.
For shops processing quartz regularly, the savings compound quickly. A precise initial cut — the kind Crown Stone USA's bridge saws are built to deliver — reduces edge prep time before polishing even starts. Consistent grit progression eliminates rework. Proper RPM and water management prevents resin burn.
Get those variables right consistently, and callbacks drop. Get them wrong once on the wrong slab, and the rework costs more than the job was worth.
Frequently Asked Questions
Are you supposed to polish quartz countertops?
Factory-finished quartz countertops come pre-polished and do not require re-polishing under normal use—routine care involves only cleaning with pH-neutral products. However, edge touch-ups or re-polishing may be necessary after on-site cuts, seam adjustments, or if surfaces are scratched during installation.
Can quartz be cut and polished?
Yes, quartz can be cut with diamond bridge saw blades and polished with diamond polishing pads. Its hardness and resin content mean standard granite or marble tooling may not perform as expected. Quartz-specific blades and white resin-bonded pads are recommended to avoid material damage and pigment transfer.
How do I get the shine back on my quartz countertop?
For surface dullness caused by cleaning product buildup or minor abrasion, a non-abrasive quartz-safe polish and soft cloth can restore sheen. For deeper scratches or edge dullness from fabrication work, a professional re-polish using the full diamond pad sequence (50–3000 grit) is required.
What is the most popular edging for quartz countertops?
The eased edge—a slightly softened 90° profile—is widely considered the most popular choice for quartz countertops due to its clean, contemporary appearance, durability, and relative ease of polishing. Bullnose and mitered waterfall edges are also common in higher-end installations.
What does vinegar do to quartz?
While quartz resists many household chemicals, repeated use of acidic cleaners like vinegar can dull the polished resin surface over time. Quartz manufacturers typically recommend pH-neutral cleaners and advise against acidic or highly alkaline products to preserve the factory finish.
What grit sequence should I use when polishing quartz edges?
Start at 50–200 grit to remove saw marks, move through 400–800 grit to refine scratch patterns, finish with 1500–3000 grit for gloss, then buff with polishing compound. Never skip stages: each grit removes the scratch pattern left by the previous one, and jumping ahead leaves marks that finer pads cannot fix.